
In January, my husband and I visited his sister and her family (husband and adorable daughter!) in California. While we were there, we helped them with a few home improvement projects. One of those projects was Marie's pantry.
The pantry was very deep, but Marie was unable to utilize all of the space. The (non-adjustable) top three shelves were very close together, so it was difficult to reach to the back of those shelves. As a result, she wasn't using the back half of the top shelves at all. In addition, Marie had Modular Mates, but some of them were empty, just taking up space. The ones that were in use were not labeled, so it was hard to see what was where.

Our goals were as follows:
- re-configure the shelves to make every square inch accessible
- re-organize the contents of the pantry so that like items are grouped together
- utilize and label all the Modular Mates
- make room for spice jars in the pantry (Marie had a spice rack that she wanted to get rid of)
- keep it cheap!
After everything was out, we (OK, my husband) built a pull-out drawer. He glued together two drawers from an old desk to form one drawer, and put extension glides on the new drawer. He installed it on the bottom shelf of that set of three close-together shelves, and although it wasn't a perfect fit, it was good enough! This became the spice drawer. (The front of it eventually got a better paint job as well...this picture was taken after just the first coat of paint.)

Notice all the jars from the spice rack that we fit in here, along with miscellaneous other spices, on the left-hand side of the drawer. We labeled the covers of all the spices so that Marie doesn't have to lift up three of them just to find the one she needs. In the back is a basket of packets and envelope mixes, as well as some jello and pudding boxes. In the right half of this drawer are the salt and pepper and some spice blends. Salad toppings are in the back, as well as a basket of cookie-decorating supplies.
Unfortunately there weren't any other desk drawers sitting around, so another solution was needed if Marie was going to be able to fully access the top two shelves. Upon close examination, we realized that the shelves were made of two planks. If we removed the front plank of the top shelf, Marie would be able to reach all the way to the back of the second shelf...and better yet, be able to SEE what was on the back of the shelf. She would lose half of her top shelf, but the net gain was greater (previously she was not using the back half of THREE shelves).
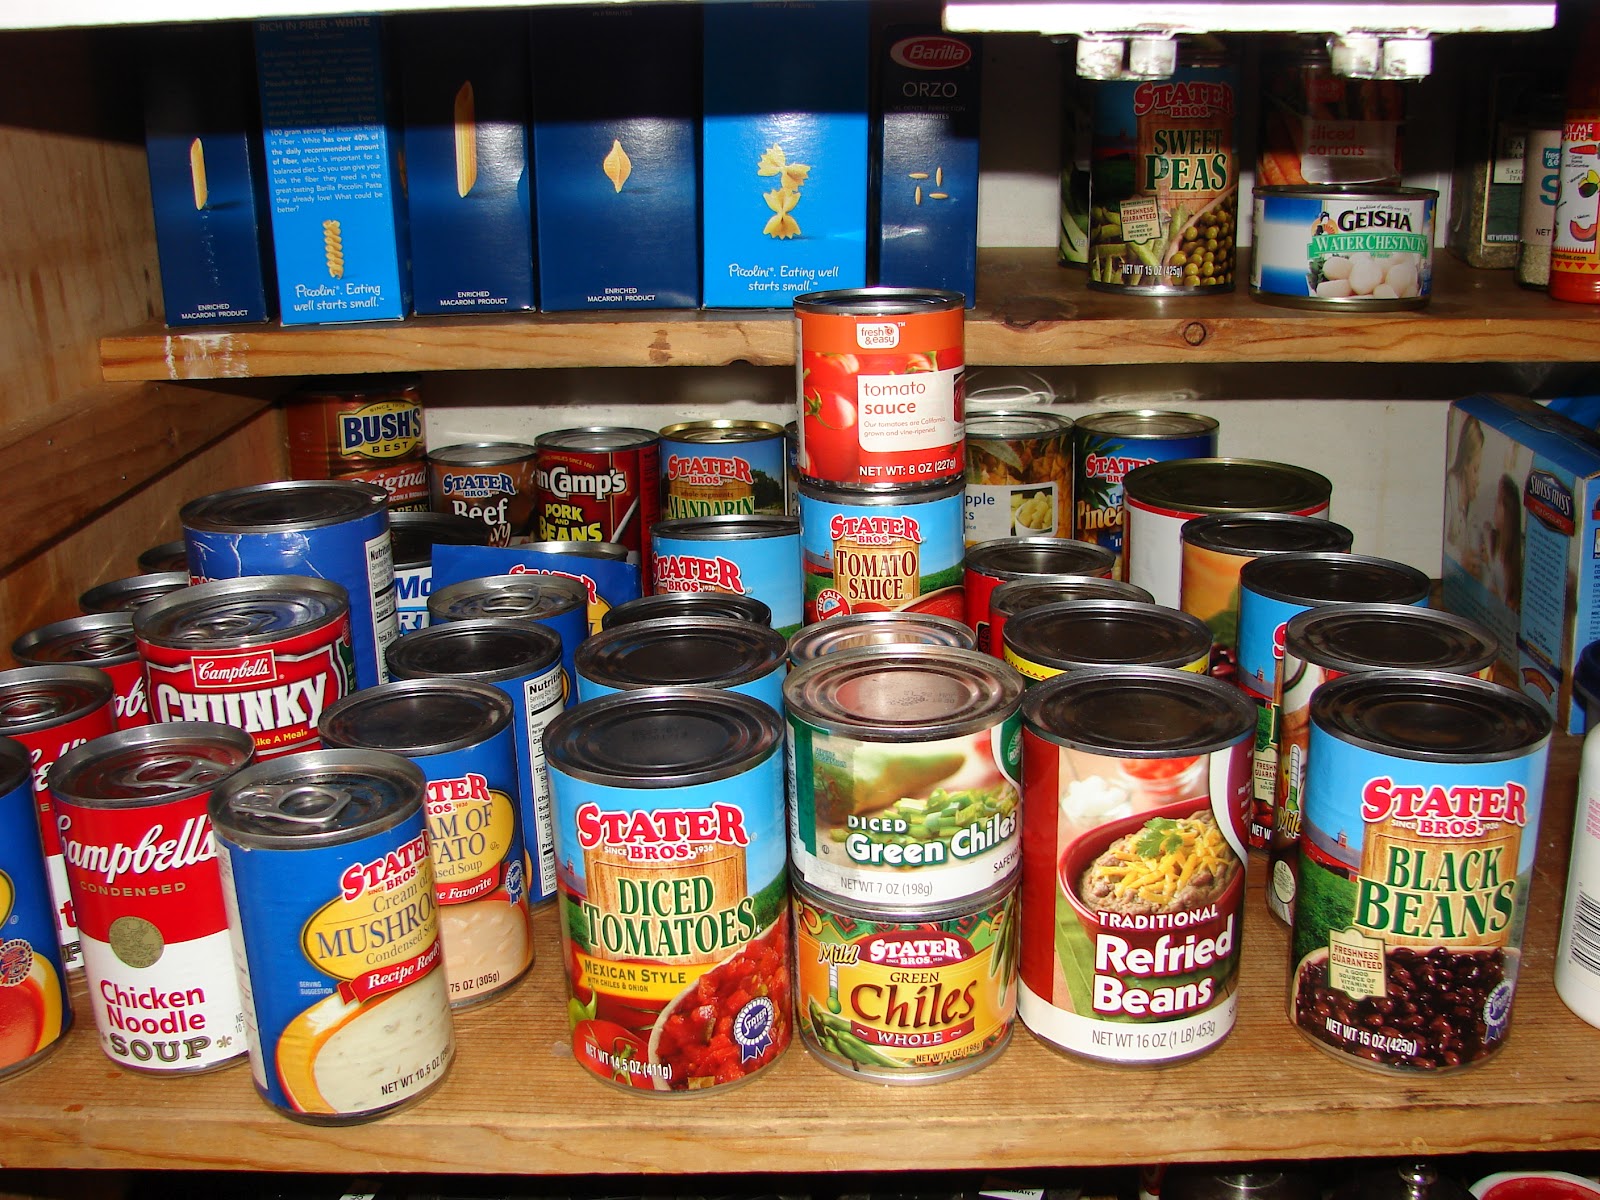

The smaller top shelf was the perfect size for boxes of pasta. Duplicate and refill spices went on the top shelf as well. The larger, second shelf became home to canned goods and hot drinks.
Now it was on to the bottom shelves. The shelf second from the bottom had lots of vertical space, so it made sense to keep the tall bottles of liquid there. We also stacked up all the baking products in newly-labeled Modular Mates, and we still had room for a basket of Asian specialty ingredients. The bottom shelf now held bottles of condiments, some box mixes, and rice and pasta. A few seldom-used containers went behind the box mixes, and we still had extra space!

Here's the official before and after, side-by-side...what do you think?

Oh, and the total cost? $3.00. Yup, we were pretty happy about that! We purchased three plastic baskets from the dollar store, and the other parts to this project (desk drawers, extension glides, paint, and Modular Mates) were things that Marie already had in her house. If you want to be really picky, you could say that I also had label tape into the project, which probably cost another $2.00 or so. We definitely accomplished our goal of keeping it cheap, as well as the other goals we had!
I know this might sound a little odd to some of you, but this was really fun for me! I love finding solutions to challenging space issues, and seeing the functional, neat result just makes me happy :) It made me even happier that Marie loved the results.
She says that having an organized, functional pantry
- causes her to cook more meals at home instead of going out to eat (= less money spent!)
- helps her enjoy the task of cooking
- helps her spend less money on groceries (she can easily see what she has in the house so she doesn't buy doubles, and she uses up ingredients and/or packages before they expire)
So, does your pantry need a makeover? May I come and help?? :) What do you have in the house that you can use to keep your pantry organized? You probably don't have a couple of desk drawers and a set of extension glides sitting around, but you might have some baskets or containers that you can put to work. There are many benefits to a functional pantry, and there are many ways to create one in your kitchen!
It looks awesome! And yes to both of your questions: my kitchen needs a makeover, and it could probably use your help :) I need to find a better way to utilize my small kitchen space. This is my next project :)
ReplyDeleteThumbs up! Appreciating small spaces that are high functioning.
ReplyDeleteThis is an excellent idea and just the benefits of being more organized add so much time to every day! I love best that she is cooking more and wasting less! I believe anything made at home is better than processed or eating out! Your recipes are amazing!
ReplyDelete